Creating Roles
Administrators can create custom roles allowing staff access only to certain areas of the system.
Use Case: An association has several staff users who should be able to see and query on customer data via the Customers App, but they should not be able to see any other applications in the system such as accounting information, product setup, administrator options, etc.
A custom role called "CRM Level 1" is created by their re:Members AMS administrator, allowing access only to the Customers App > Individuals feature, the Customers App > Organizations feature, and the Customers App > Queries feature. Users with this role can only see the Customers App and those three options under it.
To create a new role:
-
Navigate to the Users App.
-
Click the Roles feature.
-
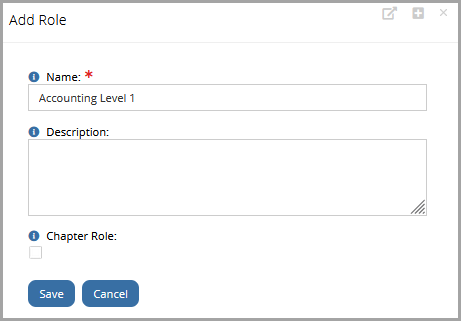
Click Add Role .
-
Enter the role Name.
-
Enter a role Description (if desired).
-
Click Save.
-
Once a role is created, security permissions must be applied to it. See: Assigning Security Permissions to User Roles.
Chapter Roles
Chapter roles can also be configured to allow chapter staff to manage information specific to their chapter(s). For details on configuring roles for chapters, see Using Chapter Roles.